How to Use Cursor AI: Complete Beginner's Guide (Step-by-Step Setup)
Learn how to use Cursor AI code editor from setup to first AI-assisted code. Step-by-step tutorial for Windows, Mac, and Linux with best practices.

Cursor is a code editor that integrates AI directly into your workflow. It's essentially VS Code + Claude/GPT-4 built in, so you can write, debug, and refactor code with AI assistance in real-time — without switching tabs or copy-pasting code into ChatGPT.
If you've written code manually before, you'll immediately feel the difference. Cursor isn't a code generator that replaces you; it's a co-pilot that accelerates your workflow. Beginners find it invaluable because it catches mistakes as you type, suggests fixes, and explains what code does.
This guide walks you through installing Cursor, setting it up for your first time, and using it to write your first AI-assisted program.
Why Use Cursor Instead of VS Code?
VS Code is excellent for coding. Cursor is built on VS Code but adds one critical layer: AI integration. Here's what that means:
AI in Your Editor: You can highlight code and press Ctrl+K (Windows/Linux) or Cmd+K (Mac) to ask the AI to modify it, explain it, or fix errors. No context-switching.
Real-Time Suggestions: As you type, Cursor suggests completions that are often smarter than standard autocomplete. It understands context (not just syntax).
Chat Built-In: Open the Cursor chat panel and ask questions about your code directly in the editor. "Why is this loop taking so long?" or "How do I parse JSON in Python?"
Code Quality: Beginners make mistakes — unused variables, inefficient loops, security issues. Cursor flags these and explains them.
Free Plan Available: The free tier includes 20 premium AI calls per day. That's enough for learning. Paid plans ($20/month) unlock unlimited calls.
Which AI Model? Cursor defaults to GPT-4o (OpenAI), but you can switch to Claude 3.5 Sonnet or other models. Claude is often faster and more concise; GPT-4o is more detailed.
Step 1: Download and Install Cursor
Go to cursor.com and click "Download."
Cursor works on:
- Windows (10+)
- macOS (10.12+)
- Linux (Ubuntu, Debian, Fedora, etc.)
Windows
- Download the
.exeinstaller - Run it — it installs like any Windows app
- Open Cursor when it's done
macOS
- Download the
.dmgfile - Open it and drag Cursor into Applications
- Open Applications > Cursor
Linux
Download the .AppImage file or use your package manager. For Ubuntu/Debian:
curl -LsSf https://downloads.cursor.sh/linux | sh
Step 2: Sign In & Configure Your AI Model
When you first open Cursor, you'll see a setup screen.
- Click "Sign In" (top right)
- Create a Cursor account or sign in with Google/GitHub
- Choose your AI model:
- GPT-4o (OpenAI) — more detailed responses, better for complex tasks
- Claude 3.5 Sonnet (Anthropic) — faster, more concise, better for quick suggestions
- Free tier default: GPT-4o (20 calls/day)
For beginners, either works. Claude is slightly faster, so if Cursor feels slow, switch to Claude.
How to Switch AI Models
- Open Cursor settings (Cursor > Preferences on Mac, File > Preferences on Windows/Linux)
- Go to Settings > Features > Cursor Settings
- Under "Models," select Claude or GPT-4o
- Restart Cursor
Step 3: First Time Setup — Customize Your Workspace
Cursor is mostly ready out of the box, but a few tweaks make it better for beginners:
Theme
Go to Preferences > Theme and pick a theme you like. "Dracula" and "Synthwave 84" are popular for code.
Font Size
If code is too small or too large: Preferences > Editor Font Size. Most beginners use 14–16px.
Extensions
You can add extensions, but as a beginner, skip this for now. Cursor works great without them.
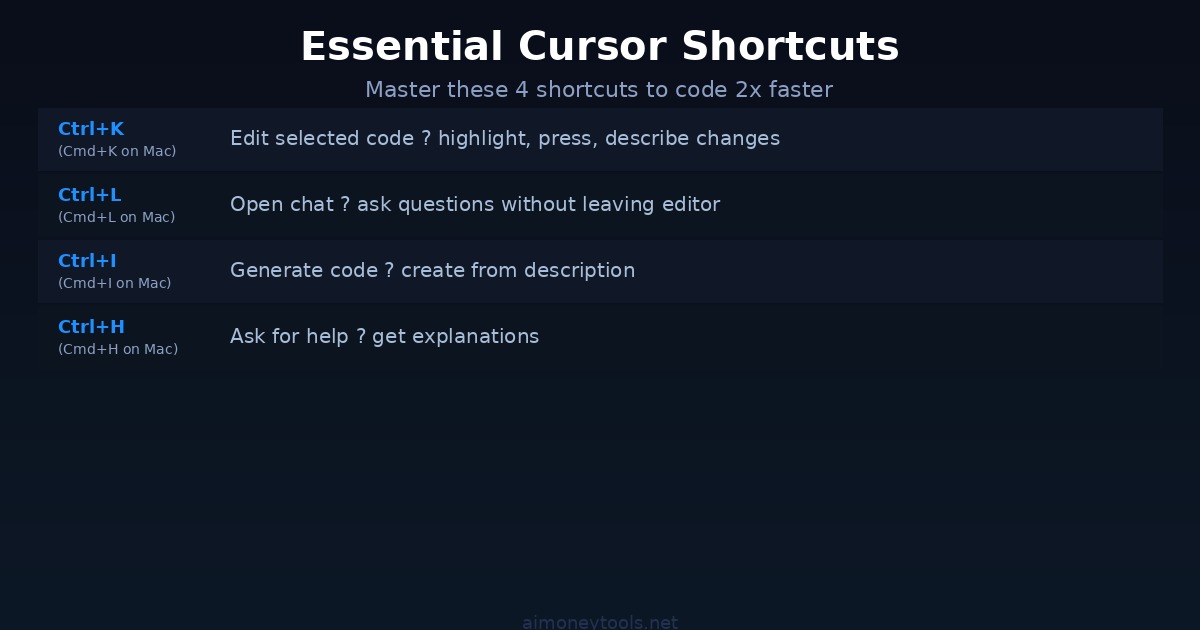
Keyboard Shortcuts
The two most important:
- Ctrl+K (Cmd+K on Mac) — Open AI edit mode. Highlight code, press this, ask for a change.
- Ctrl+L (Cmd+L on Mac) — Open inline chat. Ask a question without leaving your editor.
Step 4: Create Your First Project
Let's create a simple project to get familiar with Cursor.
- Open Cursor
- File > Open Folder (or Cmd+O on Mac)
- Create a new folder:
my-first-cursor-project - Open that folder in Cursor
You now have a blank project. Let's create a Python file:
- Right-click the folder on the left
- New File
- Name it
hello.py
Your editor now shows an empty hello.py file. Type:
# Simple greeting program
name = input("What's your name? ")
Save the file (Ctrl+S / Cmd+S). Now let's use AI to complete it.
Step 5: Your First AI-Assisted Code
Here's where Cursor shines. You've started a program that asks for a name. Let's use AI to finish it:
- Place your cursor at the end of line 2 (after
input()) - Press Enter to go to a new line
- Start typing:
print(f"Hello, {name}! - Stop and press Ctrl+K (Cmd+K on Mac)
- A chat box appears. Leave it blank or type:
Complete this greeting - Press Enter or click the check mark
Cursor will auto-complete the line for you. The result might be:
print(f"Hello, {name}! Welcome to Cursor.")
That's AI-assisted coding. You guided the direction; the AI filled in the details.
How to Test Your Code
Click the Run button (play icon, top right) or press Ctrl+F5. Cursor will prompt you for your name, and you'll see the greeting.
Step 6: Ask Cursor Questions (Inline Chat)
Let's say your program runs, but you want to understand what's happening. Press Ctrl+L (Cmd+L on Mac).
The Cursor Chat sidebar opens. Ask a question:
"What does the f-string do?"
Cursor (powered by Claude or GPT-4) will explain:
"An f-string (formatted string literal) lets you embed variables directly into text using {variable}. In your code, {name} inserts whatever the user typed."
This is invaluable for learning. You don't leave the editor; you ask and learn inline.
Step 7: Highlight Code for AI Edits
Let's make the program more interesting. Highlight the print line:
- Click at the start of the print line
- Drag to select the entire line
- Press Ctrl+K (Cmd+K on Mac)
- Type:
Make this greeting funny with an emoji - Press Enter
Cursor rewrites it. Result might be:
print(f"🎉 Hello, {name}! Welcome to the future of coding.")
That's the power of Ctrl+K — highlight, describe the change, let AI do it.
Step 8: Using Cursor's Code Generation
Now let's write a more complex program. Create a new file: weather.py
Press Ctrl+L to open chat and type:
"Write a program that asks the user for a temperature in Celsius and converts it to Fahrenheit. Include error handling so if the user enters text instead of a number, show an error message."
Cursor generates the entire program:
try:
    celsius = float(input("Enter temperature in Celsius: "))
    fahrenheit = (celsius * 9/5) + 32
    print(f"{celsius}°C = {fahrenheit}°F")
except ValueError:
    print("Error: Please enter a valid number.")
You didn't write it; you asked for it. That's Cursor's core strength.
Optional: Have Cursor Explain Generated Code
After generating code, click the generated block and press Ctrl+L. Ask: "Explain what this code does line by line."
Cursor will break it down, teaching you as you go.
Common Cursor Features for Beginners
1. Fix Issues (Bug Detection)
If your code has an error, hover over the error (red squiggly line) and Cursor offers a fix. Click Apply and it fixes the issue.
2. Refactor
Highlight messy code and press Ctrl+K, then ask: "Clean this up." Cursor will make it readable.
3. Add Comments
Highlight code and ask: "Add comments explaining what this does." Cursor documents it for you.
4. Test Generation
Ask: "Write unit tests for this function." Cursor generates test code.
5. Documentation
Ask: "Write a docstring for this function." Cursor documents it in the correct format.
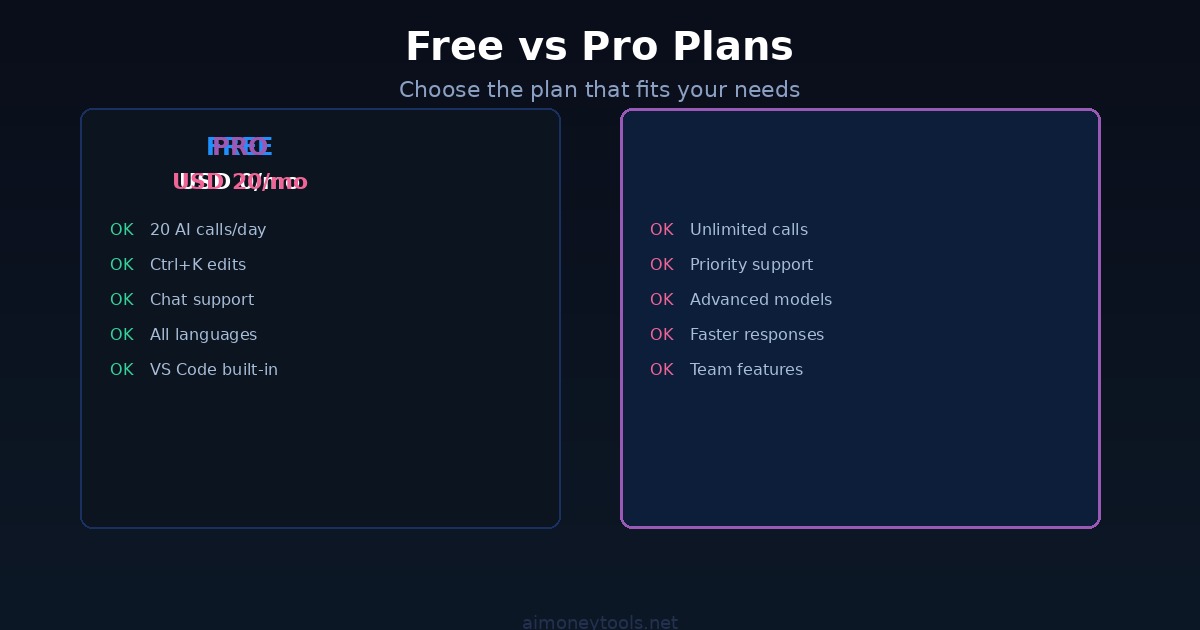
Free vs Paid Plan
Free Plan:
- 20 premium AI calls per day (more than enough for learning)
- All core features (Ctrl+K, Ctrl+L, inline chat)
- Always free
Pro Plan ($20/month):
- Unlimited premium AI calls
- Access to more advanced models
- Priority support
- Worth it when you're coding daily
Start on the free plan. You'll know when to upgrade.
Troubleshooting
"I pressed Ctrl+K and nothing happened"
- Make sure you have code selected (highlighted)
- Try Cmd+K if on Mac
- Restart Cursor
"Cursor is responding slowly"
- Switch to Claude 3.5 Sonnet (faster model)
- Check your internet connection
- Free tier has a 3-second delay sometimes
"I exceeded my free daily limit (20 calls)"
- Wait until tomorrow, or upgrade to Pro
- Each successful edit counts as 1 call
"I don't want to sign in with Google"
- Create a Cursor account directly on cursor.com
- Use your email + password
Next Steps
Once you're comfortable with Cursor:
- Build a small project — todo list, calculator, weather app
- Learn Python or JavaScript — Cursor accelerates learning
- Try code refactoring — paste old code, ask Cursor to modernize it
- Read generated code — even if you don't use it, read the AI's code to learn patterns
Cursor is a productivity tool, but it's also a learning tool. Use it to write better code, faster.
Key Takeaways
- Cursor is VS Code + AI — download from cursor.com
- Ctrl+K = highlight code, ask for changes
- Ctrl+L = ask questions in the editor without leaving
- Free tier = 20 premium calls/day (enough for most people)
- Best for beginners because it explains code as you write
- Sign in and pick your preferred AI model (GPT-4o or Claude)
FAQ
Can I use Cursor if I don't know how to code?
Yes, absolutely. Cursor is excellent for beginners. You can ask it to explain code, and it teaches as you go. Try the weather converter example above — you'll understand it quickly.
Is Cursor free?
Partially. The free plan has 20 premium AI calls per day, which is enough to learn and write small programs. For unlimited use, upgrade to Pro ($20/month).
Do I need an API key?
No. Cursor handles authentication. Just sign in with Google, GitHub, or email.
Can I use Cursor with languages other than Python?
Yes. Cursor supports all programming languages — Python, JavaScript, Java, C++, React, HTML/CSS, SQL, Rust, Go, etc.
How is Cursor different from GitHub Copilot?
- Cursor: Integrated chat + inline edits; better UI for beginners; defaults to Claude
- GitHub Copilot: Inline suggestions only; requires VS Code; defaults to Codex
- Both are excellent, but Cursor's chat and edit mode make it more beginner-friendly.
Can I use Cursor offline?
No, Cursor requires an internet connection to communicate with AI models.
Is my code private when I use Cursor?
Cursor sends your code to OpenAI/Anthropic for processing (depending on your chosen model). They don't store it for training. See Cursor's privacy policy for details.
Should I learn to code without AI first?
Controversial topic! Some say "learn fundamentals first," others say "use AI from day one." Our take: Use Cursor from the start. It accelerates learning and shows you how professionals work. But understand what the AI is doing — don't blindly copy code.
What if I want to switch to VS Code later?
No problem. VS Code has Copilot (same idea). Skills transfer 100% because Cursor is built on VS Code.

Alex the Engineer
•Founder & AI ArchitectSenior software engineer turned AI Agency owner. I build massive, scalable AI workflows and share the exact blueprints, financial models, and code I use to generate automated revenue in 2026.
Related Articles

How to Start an AI-Assisted Resume Writing Side Hustle in 2026 (Beginner's Guide)
A step-by-step guide to using AI resume tools to offer a paid resume and cover letter writing service — what to charge, which tools to use, and how to find your first clients.

How to Build and Sell AI Voice Receptionists to Local Businesses in 2026
A beginner's guide to building AI voice agents that answer business phone calls — the tools to use, what to charge, and how to find your first client.

How to Make Money on Fiverr with AI Tools in 2026: 7 Gigs You Can Start This Week
Discover 7 real Fiverr gigs you can launch using free and low-cost AI tools in 2026 — no experience required. Real pricing data, step-by-step setup, and tools that actually work.